Smart Home 16 Kanal ESP-12S Relais PRO Bausatz
16 Kanal PRO

EI-OT ESP8266 16 Kanal PRO Relais Modul Zusammenbau

EI-OT 16 Channel PRO Relays Module assembling
Zusammenbau / Bestückung

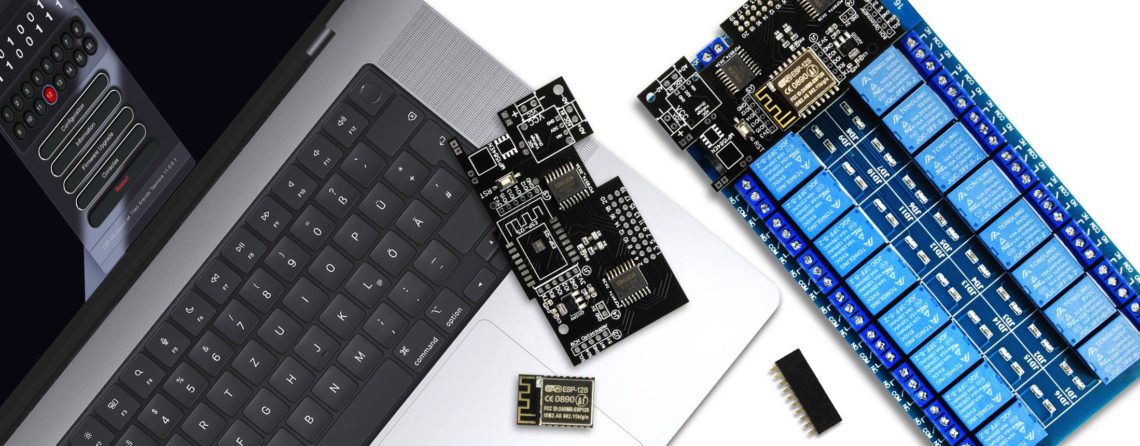
Das EI-OT ESP8266 16 Kanal PRO Relais Modul ist bereits mit SMD Komponenten bestückt. Zur Inbetriebnahme müssen nachfolgende Komponenten wie in nebenstehender Grafik (zum Vergrößern auf das Bild klicken) bestückt / verlötet werden

Die Bestückung des EI-OT 16 Kanal PRO Relais Modul Schritt für Schritt:

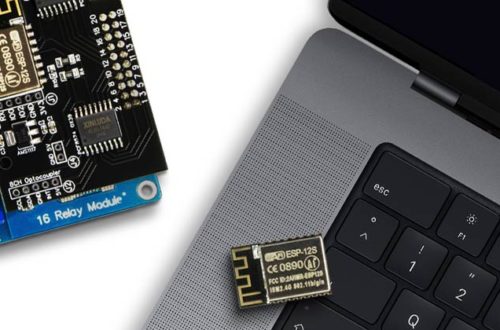
  1. Das ESP8266 Modul entsprechend platzieren, am besten mit einem Clip, z.B. Wäscheklammer fixieren und verlöten
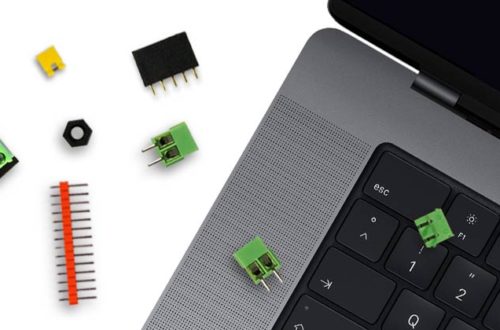
  2. Die 5-polige Pinleiste auf J1 platzieren / durchstecken und auf der Rückseite verlöten
  3. Die 2-polige Pinleiste auf J4 platzieren / durchstecken und auf der Rückseite verlöten
  4. Den 20-poligen Stecksockel von unten auf der Platine platzieren und auf der Oberseite der Platine verlöten

Das EI-OT 16 Kanal PRO Relais ist fertig bestückt, sodass im nächsten Schritt die notwendige Verbindung zum Betrieb des 5V 8 Kanal Relais Modul hergestellt werden kann.

Assembling

Besides the SMD components, the EI-OT 16 Channel PRO Relays Module requires additional components.

Assembling of the 16 Channel PRO Relays Module Step by Step:

  1. Put the ESP8266 Module in correct direction on position, fix it with a clip or clothes peg and solder it.
  2. Put the 5-pole Pinheader on J1 and solder the Pins from backside
  3. Put the 2-pole Pinheader on J4 and solder the Pins from backside
  4. Assemble the 20-pole socket from bottom side of the PCB and solder the 20 Pins on PCB top side

The basic assembling of the EI-OT 16 Channel PRO Relays Module is finished.

Schreibe einen Kommentar

Deine E-Mail-Adresse wird nicht veröffentlicht. Erforderliche Felder sind mit * markiert